|
|
By default, most browsers will display a page with a white background (although this default value can be reset by the user's preferences). Sometimes, a little color can make a page more attractive and interesting. To change the background color in a page, you must assign the BGCOLOR attribute of the BODY tag. For example, the opening tag
would cause the background of the page to be light gray. The following
color names are among those predefined by HTML:
EXERCISE 2.8: Add a background color to your home page. Be careful in your choice of colors, though. Subtle colors such as lightgrey or lightblue can be attractive. Bright or dark colors such as yellow or darkblue can make reading the text in the page next to impossible. Remember that readability is the primary goal when designing a Web page -- if the user can't read it, it doesn't matter how pretty it is!
As you surf the Web, you may have noticed some Web pages with textured patterns or even photographic images in the background. An image can be specified as the background of a Web page using the BACKGROUND attribute of the BODY tag. For example, the opening tag
EXERCISE 2.9: If you would like, add a background image to your page (sample images can be found at various Web sites). However, be very selective in the use of images. While plastering your picture in the background of your page may seem like a neat idea, all but the simplest background images detract from the readability of the page.
In all of the examples you have seen so far, links have been labeled with text. That is, only text appeared between the opening and closing ANCHOR tags. In reality, any HTML elements can appear between the ANCHOR tags, allowing for clickable elements of various forms. For example, the following defines a clickable image by placing the IMG tag inside the ANCHOR tags.
EXERCISE 2.10: Where desired, add clickable images to your home page. The images you select should have relevance to the link destination. That is, don't use a picture unless it intuitively leads the user to the appropriate destination. Also, unless you have a good reason not to, leave the border on clickable images so that their use as links is more obvious.
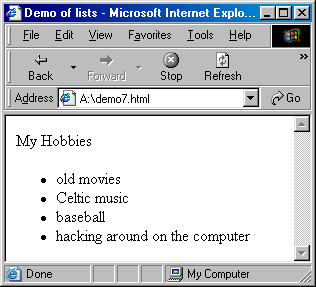
For displaying lists of items, HTML provides two different types of elements. An unordered list displays a collection of items where order is not important. By default, each item is preceded with a bullet (a filled-in circle) and indented to make the structure of the list apparent. For example,
|

|
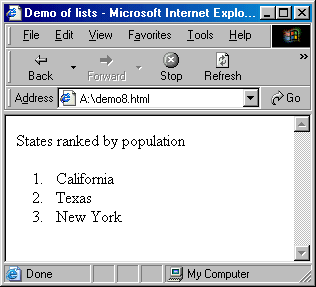
An unordered list begins and ends with UL tags, and each list item begins with a LI tag. For an ordered list, OL tags should instead be used to begin and end the list. Using OL instead of UL, the items will be numbered starting at 1. For example,
|
|
EXERCISE 2.11: Add a list to your home page. For example, you might list your favorite movies, current courses, your siblings, etc. Note that it is possible to nest lists. That is, you can have a list item be another list. When this occurs, the browser will use a new bullet or numbering style for the sublists.
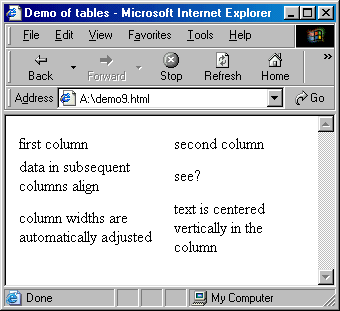
While it is generally a good idea to let the browser decide the layout of text, there are times when you want things to line up just so. It is possible to align text and other elements in columns using a table. A table element begins and ends with TABLE tags, with additional tags identifying table rows (TR) and table data (TD). For example, the following produces a table with three rows, each containing two columns of data.
|
|
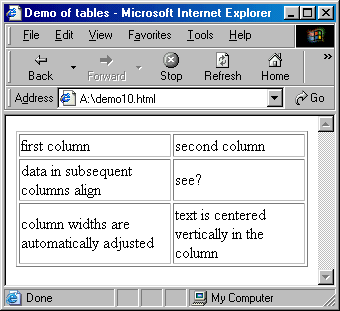
If you would like a border between rows and columns in a table, this is accomplished using the BORDER attribute in the TABLE tag. The number assigned to the BORDER attribute specifies the thickness of the border, with a larger number implying greater thickness.
|
|
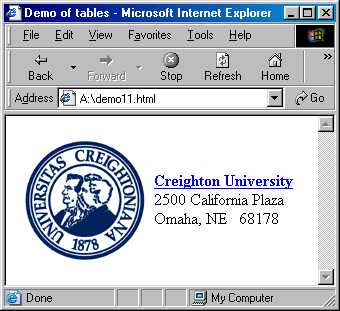
You should also note that a table can be used to align elements other than text. For example, the following table contains an image with text and a link to the right.
|
|
EXERCISE 2.12: Use a table to align text and/or images into rows and columns. For example, you might organize your class schedule into a table, with a row for each class and columns containing the course name, room number, and meeting times. Or, you might align names and email addresses of your friends.